How to Build a Gaming PC: Your Ultimate DIY Guide
August 16, 2026 18 min read 3,593 words
Unlock unparalleled gaming performance and save money by assembling your dream PC with confidence.
Start Building Your Dream PC
Understanding Your Gaming PC Components
 Photo: Official Glacier / Pexels
Embarking on the journey of building your own gaming PC is an exciting endeavor, offering not just cost savings but also a deep understanding of the technology that powers your virtual worlds. Before you even think about screwdrivers and thermal paste, the most crucial step is to comprehend the fundamental components that make up a high-performance gaming machine. Each part plays a vital role, and knowing their functions will empower you to make informed decisions for your custom build.
At the heart of every PC lies the **Central Processing Unit (CPU)**, often referred to as the 'brain' of the computer. For gaming, a powerful multi-core CPU is essential for handling complex game logic, AI, and background tasks. Brands like Intel (with their Core i5, i7, i9 series) and AMD (Ryzen 5, 7, 9 series) dominate this market, offering a range of processors suitable for various budgets and performance needs. The choice between them often comes down to specific game optimizations and overall budget. A higher core count and clock speed generally translate to better performance, but diminishing returns apply past a certain point for pure gaming.
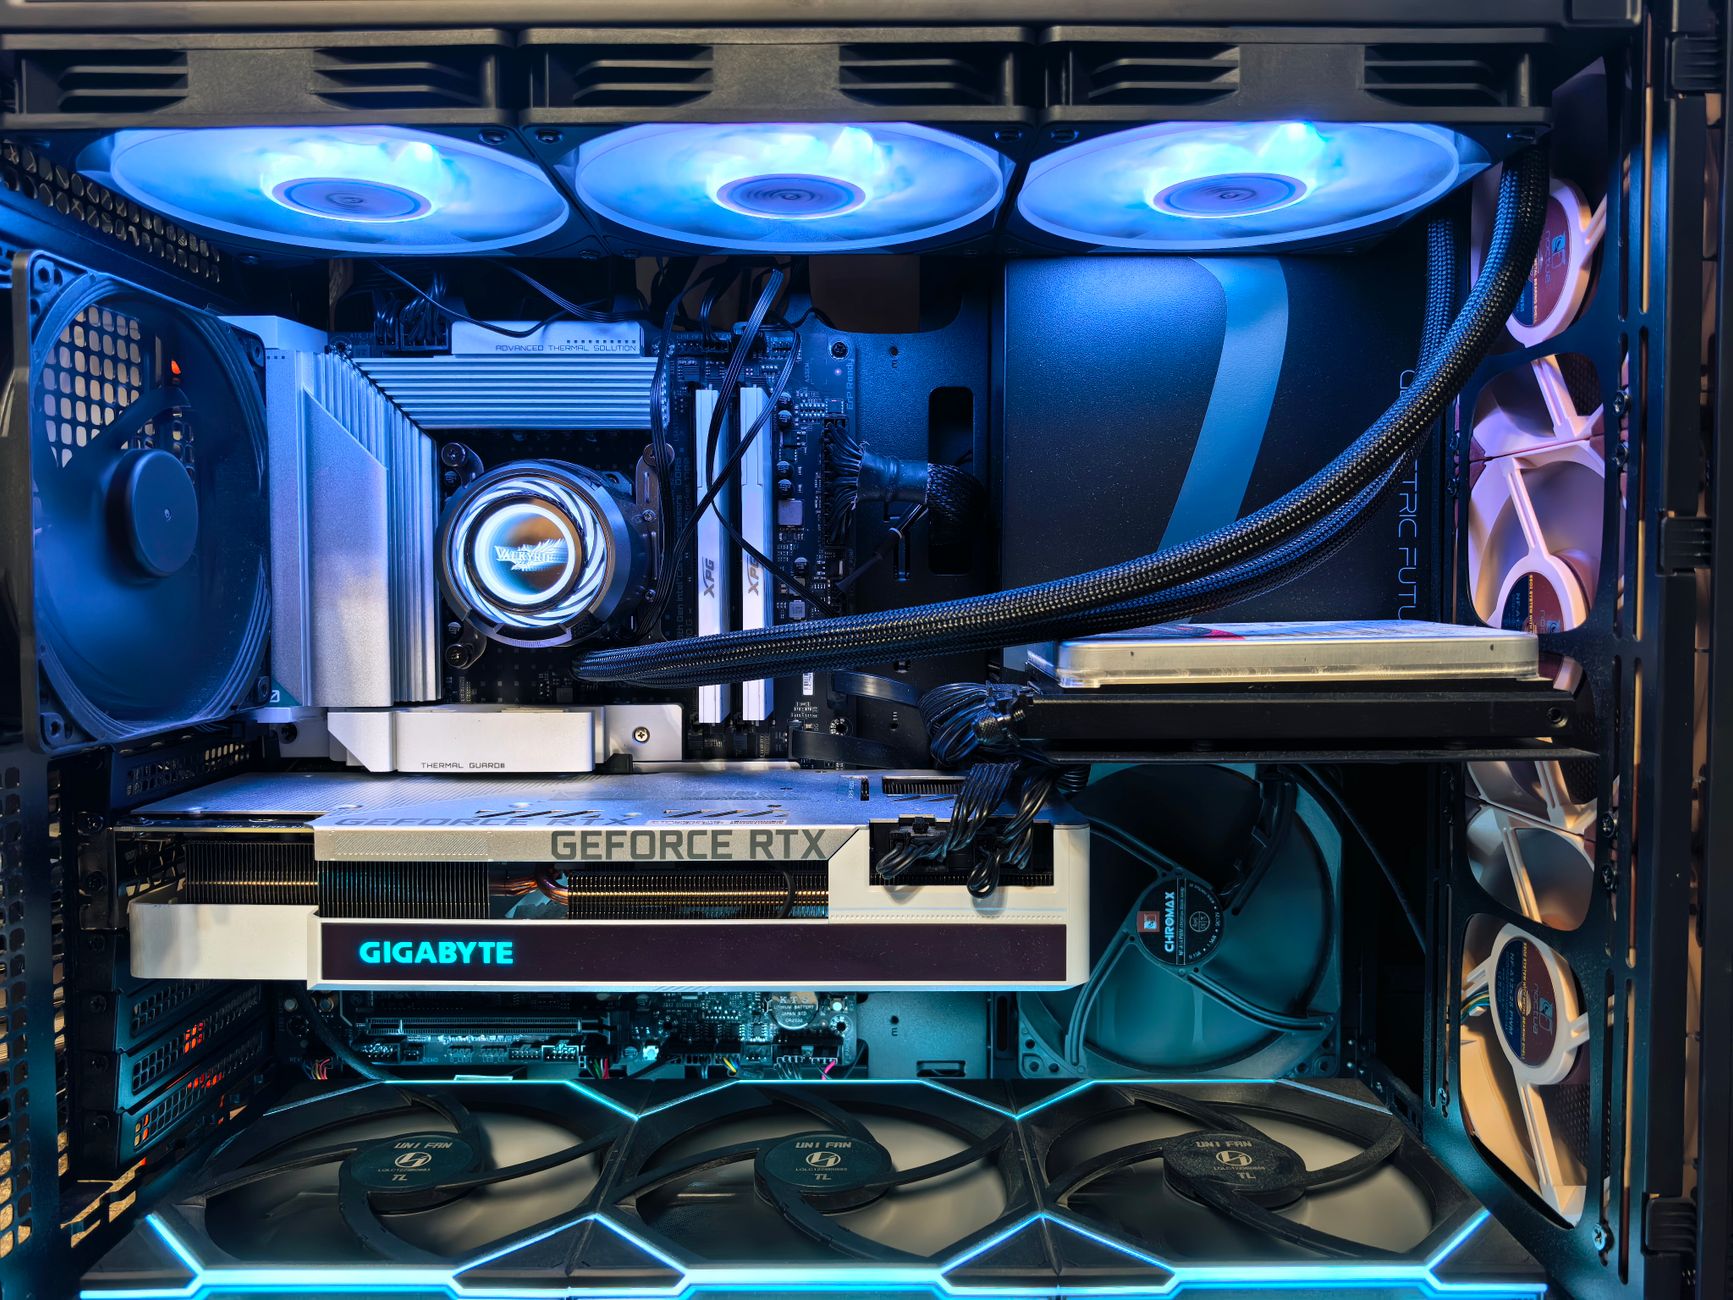
Equally critical, if not more so for gaming, is the **Graphics Processing Unit (GPU)**, or graphics card. This component is solely responsible for rendering the stunning visuals you see on your screen. It handles everything from intricate textures to real-time lighting and shadows. NVIDIA's GeForce RTX series and AMD's Radeon RX series are the titans of this arena, each offering various models that scale in performance and price. When selecting a GPU, consider the resolution and refresh rate of your monitor, as well as the types of games you plan to play. A powerful GPU is the single most significant factor in achieving high frame rates and immersive graphics quality.
Next up is the **Motherboard**, the central nervous system that connects all your components. It's where your CPU, GPU, RAM, storage, and peripherals all plug in. Motherboards come in different sizes (form factors like ATX, Micro-ATX, Mini-ITX) and feature different chipsets that support specific CPU generations and memory types. Compatibility is key here; ensure your chosen motherboard supports your CPU's socket type and RAM generation. It also dictates the number of expansion slots, USB ports, and other connectivity options available.
**Random Access Memory (RAM)** acts as your PC's short-term memory, allowing quick access to data that the CPU needs to process. For modern gaming, 16GB of DDR4 RAM is generally considered the sweet spot, providing ample headroom for most titles and multitasking. While 32GB can offer a slight edge in some scenarios or for future-proofing, it's often not a priority for initial builds. Speed, measured in MHz, and latency (CL timing) also play a role, with faster RAM potentially offering marginal performance gains.
For **Storage**, you'll typically want a combination of speed and capacity. A Solid State Drive (SSD) is an absolute must for your operating system and frequently played games due to its lightning-fast load times. NVMe M.2 SSDs are the fastest option, followed by SATA SSDs. For mass storage of less frequently accessed games, media, or other files, a traditional Hard Disk Drive (HDD) still offers the best cost-per-gigabyte, though its slower speeds make it unsuitable for primary game installations. Most builders opt for a 500GB-1TB NVMe SSD for the OS and a few key games, supplemented by a larger SATA SSD or HDD for additional storage.
Choosing the right storage solution can dramatically impact your system's responsiveness.
Finally, the **Power Supply Unit (PSU)** is often overlooked but is critically important. It supplies power to all your components, and an insufficient or unreliable PSU can lead to instability or even damage. PSUs are rated by wattage (e.g., 650W, 750W) and efficiency (e.g., 80 Plus Bronze, Gold, Platinum). Calculate your system's total power draw using online calculators and add a healthy buffer (15-20%) to determine the appropriate wattage. Higher efficiency ratings mean less wasted energy and often better build quality. Don't skimp on the PSU; it's the lifeline of your entire system.
Assembling Your Gaming Rig: Step-by-Step Guide
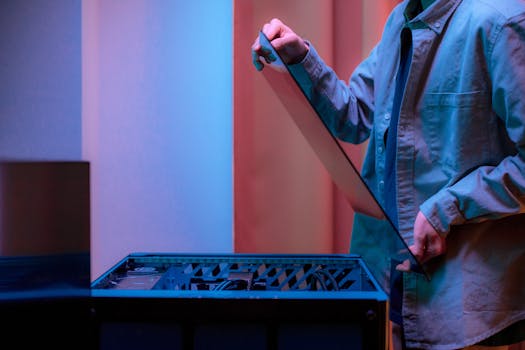 Photo: Ron Lach / Pexels
With all your components in hand, the real fun begins: assembly. While it might seem daunting, breaking it down into manageable steps makes the process straightforward and enjoyable. Before you start, ensure you have a clean, spacious, and well-lit workspace. Gather essential tools: a Phillips head screwdriver (preferably magnetic), zip ties or Velcro straps for cable management, and perhaps a headlamp. It's also wise to have an anti-static wrist strap to prevent electrostatic discharge (ESD) from damaging sensitive components, although simply touching a grounded metal object (like your PC case) periodically can also suffice.
**1. Prepare the Motherboard:** Begin by placing your motherboard on its anti-static bag or a non-conductive surface. This is where the core components will first come together. Carefully open the CPU socket lever on the motherboard. Align the triangular arrow on your CPU with the corresponding mark on the socket, then gently place the CPU into the socket without forcing it. Close the lever to secure it. Next, install your RAM sticks. Locate the RAM slots, open the clips on either end, align the notch on the RAM stick with the notch in the slot, and push down firmly until the clips snap into place. For dual-channel memory, refer to your motherboard manual for the correct slots (often alternating slots).
**2. Install the CPU Cooler:** If your CPU came with a stock cooler, follow its instructions. For aftermarket coolers, whether air or liquid, the process varies. Generally, you'll apply thermal paste (if not pre-applied to the cooler) to the center of the CPU, then mount the cooler according to its specific instructions, ensuring even pressure. Connect the cooler's fan cable to the designated 'CPU_FAN' header on your motherboard.
**3. Mount Motherboard in Case:** Now, prepare your PC case. Install the I/O shield (the metal plate with cutouts for your motherboard's ports) into the back of the case from the inside, if it's not pre-attached to your motherboard. Then, install the brass standoffs into the case at the locations corresponding to your motherboard's screw holes. Carefully lower the motherboard into the case, aligning the screw holes with the standoffs. Secure it with screws, but don't overtighten.
**4. Install Power Supply Unit (PSU):** Most modern cases have a dedicated compartment for the PSU, usually at the bottom. Slide the PSU into its bay, ensuring the fan is facing the correct direction (often downwards, if there's a filtered vent). Secure it with screws from the back of the case.
**5. Install Graphics Card (GPU):** Locate the PCIe x16 slot on your motherboard (usually the top-most, reinforced slot). Remove the corresponding expansion slot cover(s) from the back of your case. Carefully align your GPU with the slot and press down firmly until it clicks into place. Secure it with a screw or the case's locking mechanism. Connect the necessary PCIe power cables from your PSU to the GPU. Modern high-end GPUs often require two or even three 8-pin PCIe power connectors.
**6. Install Storage Drives:** Mount your SSDs and HDDs into their respective bays or M.2 slots. NVMe M.2 SSDs simply slot into a dedicated M.2 slot on the motherboard and are secured with a small screw. SATA SSDs and HDDs typically screw into drive cages. Connect SATA data cables from your drives to the motherboard's SATA ports, and then connect SATA power cables from the PSU to the drives.
**7. Connect Front Panel Cables & Case Fans:** This step requires a bit of patience. Refer to your motherboard manual to identify the small pins for front panel connectors: power switch, reset switch, USB ports, audio jacks, and LED indicators. Connect these tiny cables from your case to the correct pins on the motherboard. Also, connect your case fans to available fan headers on the motherboard. Proper cable management at this stage will greatly improve airflow and aesthetics.
**8. Connect All Power Cables:** The final internal connection step involves connecting all remaining power cables from your PSU. This includes the large 24-pin ATX power cable to the motherboard, the 4-pin or 8-pin CPU power cable (usually at the top-left of the motherboard), and any other peripheral power cables as needed. Double-check all connections to ensure they are firmly seated. Take your time with cable management, routing cables behind the motherboard tray where possible, to ensure good airflow and a clean look. This attention to detail will not only make your build look professional but also contribute to better thermal performance.
First Boot, Software Installation, and Optimization
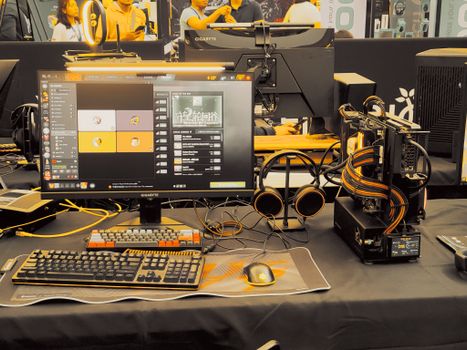 Photo: Virgie & Mike / Pexels
Congratulations, you've assembled your gaming PC! The hard part is over, but the journey isn't quite complete. The next crucial steps involve getting your system up and running, installing the necessary software, and optimizing it for peak gaming performance. This phase is where your custom build truly comes to life, transitioning from a collection of parts to a powerful gaming machine.
Optimizing your PC for gaming is an ongoing process.
**1. The First Boot:** Before closing up your case, connect your monitor, keyboard, and mouse. Plug in the power cable and flip the switch on your PSU. Take a deep breath, and press the power button on your case. If everything goes well, you should see your motherboard's splash screen or BIOS interface appear on your monitor. If nothing happens, or you hear beeps, consult your motherboard manual's troubleshooting section. Common issues include loose power connections, improperly seated RAM, or an incorrectly installed CPU. Don't panic; carefully retrace your steps.
**2. BIOS/UEFI Configuration:** Once you're in the BIOS (Basic Input/Output System) or UEFI (Unified Extensible Firmware Interface), take a moment to confirm that all your components are recognized. Check that your RAM is running at its advertised speed by enabling the XMP (Extreme Memory Profile) or DOCP (Direct Overclock Profile) profile. Ensure your primary storage drive (your NVMe or SATA SSD) is detected. You might also want to set the boot order to prioritize your USB drive for OS installation. Save and exit the BIOS.
**3. Operating System Installation:** Insert your USB drive containing your Windows (or preferred OS) installation media. Your PC should now boot from the USB. Follow the on-screen prompts to install your operating system. When prompted, select your primary SSD as the installation target. This process involves formatting the drive and copying the necessary files, which can take some time. Once the OS is installed and you reach the desktop, you're ready for the next critical step.
**4. Driver Installation:** Your operating system will likely install some generic drivers, but these are rarely optimal. You need to install the latest, manufacturer-specific drivers for your motherboard, GPU, and other peripherals. Start with your motherboard chipset drivers, which are usually found on the manufacturer's website. Next, install your GPU drivers from NVIDIA (GeForce Experience) or AMD (Radeon Software Adrenalin Edition). These are absolutely critical for gaming performance. Also, install drivers for your network adapter (Ethernet/Wi-Fi), audio, and any other specialized components. Keeping these drivers up-to-date is vital for performance and stability.
**5. Windows Updates and Essential Software:** Once drivers are installed, run Windows Update repeatedly until there are no more pending updates. This ensures your system has the latest security patches and performance improvements. After this, install essential software like your web browser, communication apps, and most importantly, your game launchers (Steam, Epic Games, GOG, Battle.net, etc.).
**6. Performance Optimization and Benchmarking:** Now for the fun part: optimization. Install a few of your favorite games and test them out. Monitor your CPU and GPU temperatures using software like HWMonitor or MSI Afterburner to ensure they're within safe operating limits. You can use benchmarking tools like 3DMark or Heaven Benchmark to compare your system's performance against others and ensure everything is running as expected. Within your GPU's control panel (NVIDIA Control Panel or Radeon Software), you can fine-tune settings for optimal performance or visual quality. Ensure your monitor is set to its highest refresh rate in Windows display settings. Consider enabling game mode in Windows settings for a slight performance boost during gaming. Regular driver updates, keeping your system clean of unnecessary software, and monitoring temperatures will help maintain your PC's peak performance for years to come.
Common Pitfalls and Pro Tips for PC Builders
Building a gaming PC is a rewarding experience, but it's not without its potential stumbling blocks. Being aware of common pitfalls and equipping yourself with pro tips can save you time, frustration, and even money. Even seasoned builders can make minor mistakes, so patience and careful attention to detail are your best allies. Here are some key areas to focus on:
**Common Pitfalls to Avoid:**
* **Forgetting the I/O Shield:** This small metal plate often gets overlooked until the motherboard is already screwed into the case. It's a minor inconvenience but requires unscrewing the motherboard to install.
* **Improper Thermal Paste Application:** Too much or too little thermal paste can lead to poor heat transfer and high CPU temperatures. A pea-sized dot in the center of the CPU is generally sufficient.
* **Incorrect RAM Seating:** RAM sticks need to be pushed firmly until the clips on both ends snap into place. If not fully seated, your PC won't boot.
* **Missing PSU Cables:** Double-check that all necessary power cables (24-pin motherboard, 8-pin CPU, PCIe for GPU, SATA for drives) are connected and fully seated. A common oversight is forgetting the CPU power cable.
* **Ignoring Cable Management:** While not strictly functional for initial boot, poor cable management can restrict airflow, making your components run hotter and making future upgrades or troubleshooting a nightmare.
* **Static Discharge:** Touching sensitive components without grounding yourself can damage them. Always touch a metal part of your case or use an anti-static wrist strap.
* **Forcing Components:** If a component doesn't fit easily, stop. Re-read the manual and check for proper alignment. Forcing parts can bend pins or damage sockets.
**Pro Tips for a Smooth Build:**
* **Read Your Manuals:** Especially the motherboard manual. It contains critical information about header locations, RAM slot priority, and troubleshooting codes.
* **Build Outside the Case First:** For your first build, consider installing the CPU, cooler, and RAM onto the motherboard and testing it outside the case on its anti-static bag. If it boots to BIOS, you've confirmed these crucial components work before integrating them into the case.
* **Organize Your Screws:** Use small containers or a magnetic mat to keep different types of screws organized. Motherboard screws, case screws, and drive screws often look similar but serve different purposes.
* **Pre-Route Cables:** Before installing components, consider where your PSU cables will go. Routing them through the back of the motherboard tray as you install components makes for a much cleaner final build.
* **Use Online Resources:** YouTube tutorials, PC building forums, and manufacturer websites are invaluable resources if you get stuck. Don't hesitate to search for specific component installation videos.
* **Test as You Go:** After installing major components (CPU, RAM, GPU), do a quick power-on test to ensure it boots to BIOS. This helps pinpoint issues to the most recently installed part.
* **Don't Forget Drivers:** The operating system is just the beginning. Proper, up-to-date drivers are essential for optimal performance, especially for your GPU and chipset. Always download them directly from the manufacturer's website.
* **Benchmark and Monitor:** After installation, run benchmarks and monitor temperatures. This confirms your system is performing as expected and helps identify any cooling issues early on.
* **Enjoy the Process:** Building a PC is a learning experience. Embrace the challenges, celebrate the successes, and take pride in the custom machine you've created. It's a rewarding journey that offers a deeper connection to your gaming hardware.