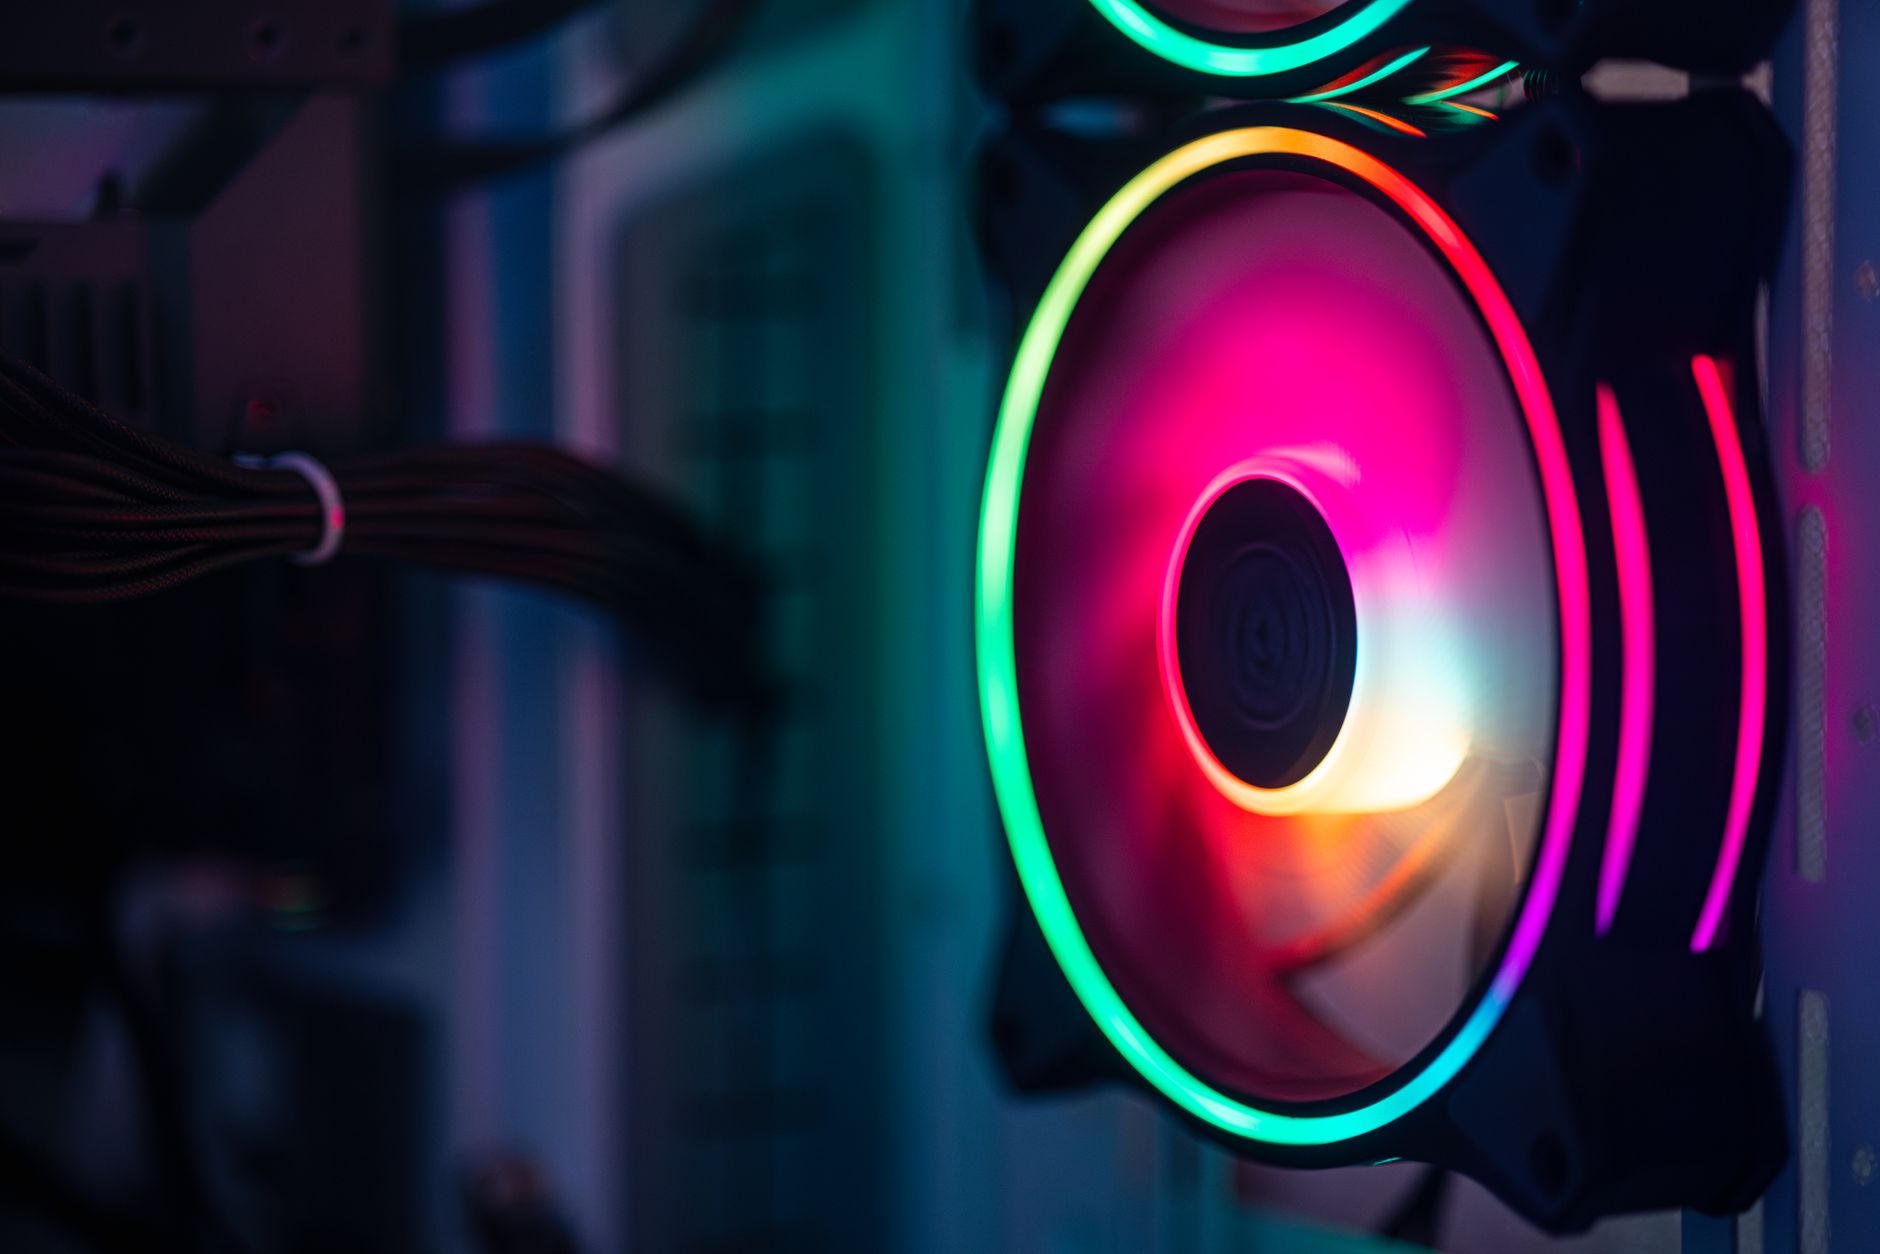
How to Build a Gaming PC: Your Ultimate DIY Guide
how to build a gaming PC

How to Build a Gaming PC: Your Ultimate DIY Guide

Unlock unparalleled gaming performance and save money by assembling your dream PC with our easy-to-follow instructions.

Start Building Your PC

Key Takeaways

  • ✓ Building your own gaming PC offers superior customization and performance for your budget.
  • ✓ Understanding core components like CPU, GPU, and RAM is crucial for selection.
  • ✓ Careful planning and compatibility checks prevent common building frustrations.
  • ✓ Proper cable management and cooling are essential for long-term performance and aesthetics.

How It Works

1
Plan Your Build & Gather Components

Define your budget, performance goals, and research compatible parts (CPU, GPU, Motherboard, RAM, Storage, PSU, Case). Order everything you need before starting.

2
Assemble Core Components

Install the CPU, CPU cooler, RAM, and M.2 SSD onto the motherboard. This pre-assembly makes later steps inside the case much easier and safer.

3
Mount & Wire Everything in the Case

Secure the motherboard, graphics card, and power supply unit into the PC case. Connect all necessary power cables, data cables, and front panel connectors meticulously.

4
Install OS & Drivers, Then Game!

Once hardware is assembled, install your operating system (Windows is popular for gaming) and all relevant drivers for your components. Then, it's time to test and enjoy your custom-built machine!

Understanding Gaming PC Components
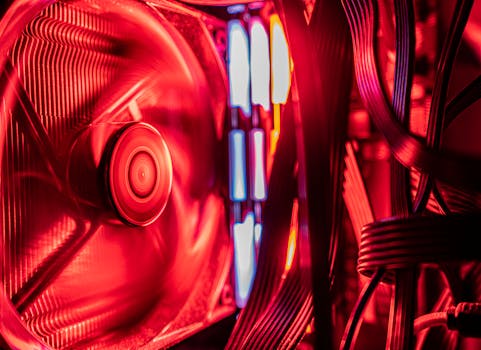
Vividly lit PC components showcasing modern technology and design. Photo: Dave Morgan / Pexels
Embarking on the journey of how to build a gaming PC begins with a foundational understanding of its core components. Think of your PC as a high-performance vehicle; each part plays a crucial role in its overall speed, efficiency, and ability to handle demanding tasks, especially modern video games. The Central Processing Unit (CPU) is the brain, executing instructions and managing all computations. For gaming, you'll want a multi-core processor from Intel (i5, i7, i9) or AMD (Ryzen 5, 7, 9) with high clock speeds. While a powerful CPU is important, it's often the Graphics Processing Unit (GPU) that steals the show in a gaming rig. The GPU, often called the graphics card, is solely responsible for rendering images to your monitor. This is where a significant portion of your budget should go for gaming, as it directly impacts frame rates and visual fidelity. NVIDIA's GeForce RTX series and AMD's Radeon RX series are the dominant players, offering various tiers of performance to suit different budgets and gaming aspirations. Next, we have the Motherboard, the nervous system that connects every component. It dictates compatibility for your CPU, RAM, and storage, and offers expansion slots for future upgrades. Pay attention to the chipset, socket type, and available PCIe slots. Random Access Memory (RAM) acts as your PC's short-term memory, allowing quick access to data currently in use. For modern gaming, 16GB is the sweet spot, with 32GB becoming increasingly popular for enthusiasts or those who multitask heavily. Faster RAM (higher MHz) can provide marginal gains, but capacity is generally more critical. Storage is where your operating system, games, and files reside. Solid State Drives (SSDs), particularly NVMe M.2 drives, offer vastly superior loading times compared to traditional Hard Disk Drives (HDDs). While HDDs are cheaper for mass storage, an SSD for your OS and primary games is non-negotiable for a snappy gaming experience. The Power Supply Unit (PSU) is often overlooked but is the heart that provides electricity to all components. Don't skimp on the PSU; a reliable unit with sufficient wattage (calculated based on your components' power draw) and an 80 PLUS efficiency rating (Bronze, Gold, Platinum, Titanium) ensures stability and longevity. Finally, the PC Case houses all these components, providing airflow, protection, and aesthetics. Consider its size (form factor), cooling potential (fan mounts, radiator support), and overall design. Understanding these fundamental parts empowers you to make informed decisions and build a gaming PC that truly meets your needs, rather than just buying an off-the-shelf solution. Each component choice impacts the others, creating a delicate balance that defines your PC's ultimate performance envelope.

Planning Your Gaming PC Build and Budget
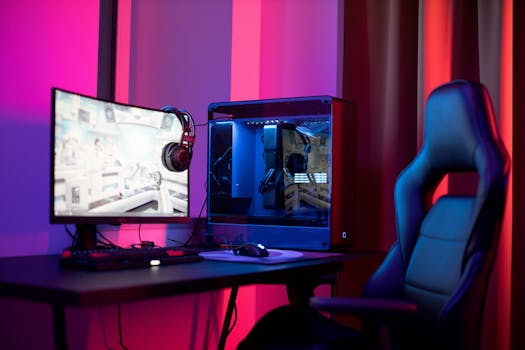
A sleek gaming setup featuring a high-end PC, widescreen monitor, and ergonomic chair lit by neon lights. Photo: Ron Lach / Pexels
Before you even think about opening a box or connecting a cable, meticulous planning is paramount when learning how to build a gaming PC. This phase is crucial for avoiding costly mistakes, ensuring compatibility, and ultimately building a machine that perfectly aligns with your gaming desires and financial constraints. Start by defining your primary goals: What games do you want to play? At what resolution (1080p, 1440p, 4K)? What frame rate are you targeting (60fps, 144fps, 240fps)? Do you plan on streaming, video editing, or other demanding tasks alongside gaming? Answering these questions will guide your component choices significantly. For instance, playing competitive esports titles at 1080p 144Hz requires a different GPU and CPU than enjoying AAA cinematic games at 4K 60Hz. Next, establish a realistic budget. This is perhaps the most critical step. PC components range widely in price, and it’s easy to get carried away. Allocate your budget wisely, remembering that the GPU typically consumes the largest portion, followed by the CPU, motherboard, and then RAM, storage, PSU, and case. A common mistake is to overspend on the CPU and then compromise too much on the GPU, leading to an unbalanced system. Research current market prices for components. Websites like PCPartPicker.com are invaluable tools for this stage, as they allow you to select components and automatically check for compatibility issues and power consumption, providing an estimated wattage requirement for your PSU. This platform also helps you track prices from various retailers, ensuring you get the best deals. Consider the future. While you don't need to future-proof for five years, thinking about potential upgrades down the line can save you money. For example, selecting a motherboard with a newer chipset that supports future CPU generations or having extra RAM slots can be beneficial. Don't forget peripherals! Your budget should also account for a monitor, keyboard, mouse, and headset if you don't already own them. A high refresh rate monitor is essential to fully appreciate the performance of your new gaming PC. Finally, factor in the cost of your operating system (e.g., Windows 11) and any necessary software. A well-planned budget and component list not only streamline the building process but also ensure you build a gaming PC that delivers maximum bang for your buck and provides years of enjoyable gaming. This preparatory stage is where success is largely determined, setting the foundation for a smooth and rewarding build experience.

Step-by-Step Assembly: Bringing Your Rig to Life
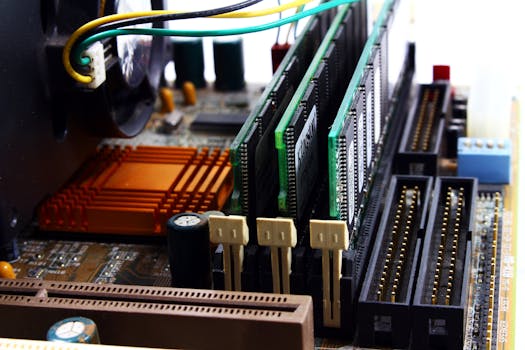
Detailed view of computer motherboard featuring RAM, chipset, and wiring. Photo: Valentine Tanasovich / Pexels
The actual assembly process is where your vision truly comes to life when learning how to build a gaming PC. While it might seem daunting, taking it one step at a time, patiently and methodically, will lead to a successful build. Before you begin, ensure you have a clean, well-lit workspace with plenty of room. Gather your tools: a Phillips head screwdriver (magnetic tip is a bonus), zip ties or Velcro straps for cable management, and anti-static wrist strap (though not strictly necessary for most modern components, it's good practice). Unpack all your components and organize them so they are easily accessible. **1. Prepare the Motherboard:** Start by installing the CPU onto the motherboard. Carefully lift the CPU retention arm, align the triangular arrow on the CPU with the corresponding mark on the socket, and gently place the CPU down. Do not force it. Close the retention arm. Next, install the RAM. Open the retention clips on the RAM slots, align the notch on the RAM stick with the notch in the slot, and push down firmly on both ends until the clips snap into place. If you have an M.2 NVMe SSD, install it now into its dedicated slot on the motherboard, securing it with the small screw. **2. Install the CPU Cooler:** If you're using an aftermarket cooler, follow its specific instructions. For stock coolers, apply thermal paste (if not pre-applied) and secure the cooler over the CPU, ensuring even pressure. Connect the CPU fan cable to the designated 'CPU_FAN' header on the motherboard. **3. Prepare the Case & Install the Motherboard:** Install the I/O shield (if it's a separate piece) into the back of your PC case. Carefully place the motherboard into the case, aligning it with the standoff screws. Secure the motherboard with the appropriate screws, ensuring it's firmly seated but not overtightened. **4. Install the Graphics Card:** Locate the primary PCIe x16 slot on your motherboard (usually the top one). Remove the corresponding PCIe slot cover(s) from your case. Open the retention clip on the PCIe slot. Align the graphics card with the slot and push down firmly until it clicks into place. Secure it to the case with screws. **5. Install Storage Drives:** Mount any 2.5-inch SSDs or 3.5-inch HDDs into their designated bays within the case. These often slide in and are secured with screws or tool-less mechanisms. **6. Install the Power Supply Unit (PSU):** Mount the PSU into its bay, usually at the bottom or top rear of the case, with the fan facing the correct direction (often downward for bottom-mounted PSUs with a filtered intake). Secure it with screws. **7. Cable Management & Connections:** This is the most time-consuming but rewarding step. Connect the large 24-pin ATX power cable to the motherboard. Connect the 8-pin (or 4+4 pin) CPU power cable to the motherboard. Connect the PCIe power cables from the PSU to your graphics card (ensure all required pins are connected). Connect SATA power and data cables to your SSDs/HDDs. Finally, connect the small front panel connectors (Power Switch, Reset Switch, HDD LED, Power LED, USB, Audio) from your case to the motherboard headers. Refer to your motherboard manual for correct pin assignments. Route cables neatly behind the motherboard tray and use zip ties to keep them organized, improving airflow and aesthetics. Double-check all connections before closing up your case. This methodical approach ensures every component is correctly installed and connected, setting the stage for a successful first boot.

First Boot, Software Installation, and Troubleshooting Tips
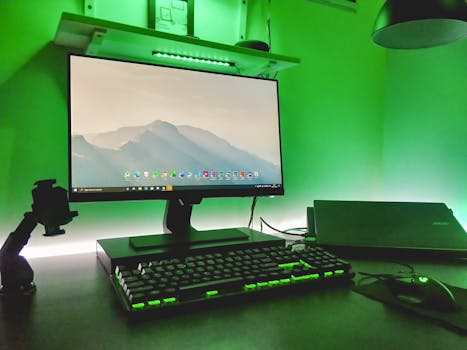
Stylish workspace featuring a desktop, keyboard, and ambient green LED lighting. Photo: Sharad Kachhi / Pexels
You've meticulously assembled your gaming PC, and now comes the moment of truth: the first boot. This stage is exhilarating but can also be a source of anxiety. Don't worry, even experienced builders encounter hiccups. First, connect your monitor, keyboard, and mouse. Plug in your power cable and flip the switch on the PSU. Press the power button on your case. If everything powers on, fans spin, and you see a display on your monitor (even just the motherboard BIOS screen), congratulations! You've successfully built your PC's hardware. If nothing happens or you encounter errors, don't panic. Go back and re-check all power connections: the 24-pin ATX, 8-pin CPU, and PCIe power cables. Ensure your RAM is fully seated. Verify your monitor is connected to the graphics card, not the motherboard's integrated graphics ports (unless you're intentionally using integrated graphics). Troubleshooting is a normal part of the process, and persistence pays off. Once you reach the BIOS/UEFI screen, you may need to adjust a few settings, such as enabling XMP/DOCP for your RAM to run at its advertised speeds, setting the boot order to your USB drive (containing your OS installer), and ensuring your storage drives are recognized. Save and exit the BIOS. Your PC should now boot from your USB drive, allowing you to install your operating system. Windows 11 is the most common choice for gaming. Follow the on-screen prompts to install it onto your primary SSD. After the OS is installed, the next crucial step is installing drivers. Your motherboard will come with a driver CD/USB, but it's always best to download the latest drivers directly from the manufacturers' websites (motherboard, GPU, chipset, network, audio). The graphics card driver is especially important for gaming performance. Install all critical Windows updates as well. After all drivers and updates are installed, restart your PC. Now you can install your favorite games and benchmarks. Run a few stress tests (e.g., Prime95 for CPU, FurMark for GPU) to ensure stability under load. Monitor temperatures using software like HWMonitor or MSI Afterburner to ensure your cooling solution is adequate. If temperatures are too high, recheck your CPU cooler installation and case airflow. This final stage transforms your collection of parts into a fully functional, high-performance gaming machine. With your custom-built PC, you'll not only enjoy superior gaming performance but also gain invaluable knowledge and a sense of accomplishment that pre-built systems simply can't offer.

Comparison

FeatureBudget Gaming PCMid-Range Gaming PCHigh-End Gaming PC
CPUIntel Core i3/i5 (last-gen) or AMD Ryzen 3/5Intel Core i5/i7 (current-gen) or AMD Ryzen 5/7Intel Core i7/i9 or AMD Ryzen 7/9 (latest-gen)
GPUNVIDIA GTX 1650/1660 or AMD RX 6600NVIDIA RTX 4060/4070 or AMD RX 7700 XT/7800 XTNVIDIA RTX 4080/4090 or AMD RX 7900 XTX
RAM16GB DDR4 (3200MHz)16GB-32GB DDR4/DDR5 (3600MHz+)32GB+ DDR5 (6000MHz+)
Storage500GB NVMe SSD + 1TB HDD1TB NVMe SSD2TB+ NVMe SSD
PSU550W-650W 80+ Bronze750W-850W 80+ Gold1000W+ 80+ Platinum
Target Resolution/FPS1080p @ 60-100 FPS1440p @ 60-100 FPS or 1080p @ 144+ FPS4K @ 60+ FPS or 1440p @ 144+ FPS
Approx. Cost (USD)$700 - $1000$1200 - $2000$2500+

What Readers Say

"This guide was a lifesaver! I always thought building a PC was too complicated, but the step-by-step instructions made it so easy. My new gaming PC runs everything flawlessly."

Alex R. · Austin, TX

"The component breakdown section helped me pick the perfect parts for my budget. I saved hundreds compared to buying a pre-built, and the performance is incredible."

Sarah L. · Seattle, WA

"I followed this guide to build my first gaming rig, and it booted up on the first try! The cable management tips were particularly helpful, making my PC look super clean."

Mike P. · Orlando, FL

"Fantastic resource! I wish there were a bit more detail on specific BIOS settings, but overall, it's an incredibly comprehensive guide for anyone looking to build their own gaming PC."

Jessica M. · Denver, CO

"As a former console gamer, building my own PC seemed intimidating. This article broke down every step, and now I have a powerful machine for both gaming and 3D rendering. Highly recommend!"

Carlos G. · Phoenix, AZ

Frequently Asked Questions

Is it really cheaper to build your own gaming PC?

Generally, yes. Building your own PC often allows you to get better performance for your money compared to pre-built systems, as you avoid manufacturer markups and can prioritize components based on your specific needs. You also have full control over component quality and upgradeability.

Is building a gaming PC difficult for a beginner?

While it requires patience and attention to detail, building a gaming PC is not as difficult as it might seem. Modern components are designed to be user-friendly, and with comprehensive guides like this one, most beginners can successfully assemble their own system. The key is to take your time and follow instructions carefully.

What tools do I need to build a gaming PC?

The essential tools are quite minimal: primarily a Phillips head screwdriver (preferably magnetic tip), zip ties or Velcro straps for cable management, and potentially an anti-static wrist strap. That's usually all you'll need for the physical assembly.

How much should I budget for a good gaming PC?

A 'good' gaming PC can range from $700 to $1000 for a solid 1080p experience, $1200 to $2000 for excellent 1440p gaming, and $2500+ for high-end 4K performance. Your budget should align with your desired resolution, frame rate, and the types of games you plan to play.

Should I buy an Intel or AMD CPU for gaming?

Both Intel and AMD offer excellent CPUs for gaming. The choice often comes down to specific models, current market pricing, and your overall budget. Both companies provide competitive options across various price points, and performance differences can be minimal for pure gaming in many scenarios. It's best to check recent benchmarks for the games you play.

Who should consider building a gaming PC?

Anyone looking for maximum performance per dollar, complete customization, easier upgradeability, or simply the satisfaction of a DIY project should consider building a gaming PC. It's ideal for enthusiasts, budget-conscious gamers, or those with specific aesthetic or performance requirements.

What are the common mistakes to avoid when building a PC?

Common mistakes include not checking component compatibility, forgetting to install the I/O shield, not fully seating RAM or the graphics card, incorrect cable connections (especially front panel headers), forgetting to peel plastic off CPU cooler base, and neglecting proper cable management which can hinder airflow.

What are the future trends in PC gaming hardware?

Future trends include continued advancements in CPU core counts and efficiency, more powerful and energy-efficient GPUs with AI acceleration (like DLSS and FSR), faster DDR5 RAM and PCIe 5.0 storage, wider adoption of high-refresh-rate monitors, and increasing integration of AI in gaming experiences.

Ready to elevate your gaming experience? Building your own gaming PC is a rewarding journey that delivers unparalleled performance and customization. Take the first step today and transform your gaming dreams into a powerful, custom-built reality.

Topics: how to build a gaming PCgaming PC componentsDIY gaming computerPC building guidecustom gaming rig
Leo List

DK Escorts LU Escorts AT Escorts SE Escorts FI Escorts CH Escorts DE Escorts HR Escorts IE Escorts GR Escorts CZ Escorts NO Escorts BE Escorts FR Escorts SI Escorts IL Escorts NL Escorts PL Escorts HU Escorts ES Escorts IT Escorts PT Escorts SK Escorts RO Escorts ZA Escorts UY Escorts US Escorts UK Escorts NZ Escorts AU Escorts
Brampton weed
Adultwork EstrelaBet Vai de Bet R7 Bet Betão Galera Bet Rainbet Bet9ja Shop SportyBet BetKing Sisal Loto Foot Hollywoodbets YesPlay Odibets RushBet Jugabet BetWarrior BetCity MSport betPawa Fortebet