How to Build a Gaming PC: Your Ultimate DIY Guide
how to build a gaming PC

How to Build a Gaming PC: Your Ultimate DIY Guide

Sleek gaming desk setup featuring RGB lighting, large monitor, and gaming PC with glowing fans.Photo: Atahan Demir / Pexels

How to Build a Gaming PC: Your Ultimate DIY Guide

Unlock unparalleled performance and customization by assembling your own gaming rig, perfectly tailored to your needs and budget.

Start Building Your Dream PC

Key Takeaways

  • ✓ Building a gaming PC can be more cost-effective than buying pre-built.
  • ✓ You gain full control over component selection for optimal performance.
  • ✓ The process is surprisingly straightforward with proper guidance.
  • ✓ A custom-built PC offers easier upgrades and maintenance.

How It Works

1
Plan Your Build & Budget

Determine your performance goals (e.g., 1080p, 1440p, 4K gaming) and set a realistic budget for components. Research compatible parts that meet your needs.

2
Gather Your Components & Tools

Purchase all necessary hardware, including CPU, GPU, motherboard, RAM, storage, PSU, and case. Ensure you have essential tools like screwdrivers and zip ties.

3
Assemble the Core System

Install the CPU, cooler, RAM, and M.2 SSD onto the motherboard outside the case. This 'test bench' approach helps identify any immediate issues before full assembly.

4
Final Assembly & Cable Management

Mount the motherboard, install the GPU, connect the power supply, and route all cables neatly within the case. Install the operating system and drivers.

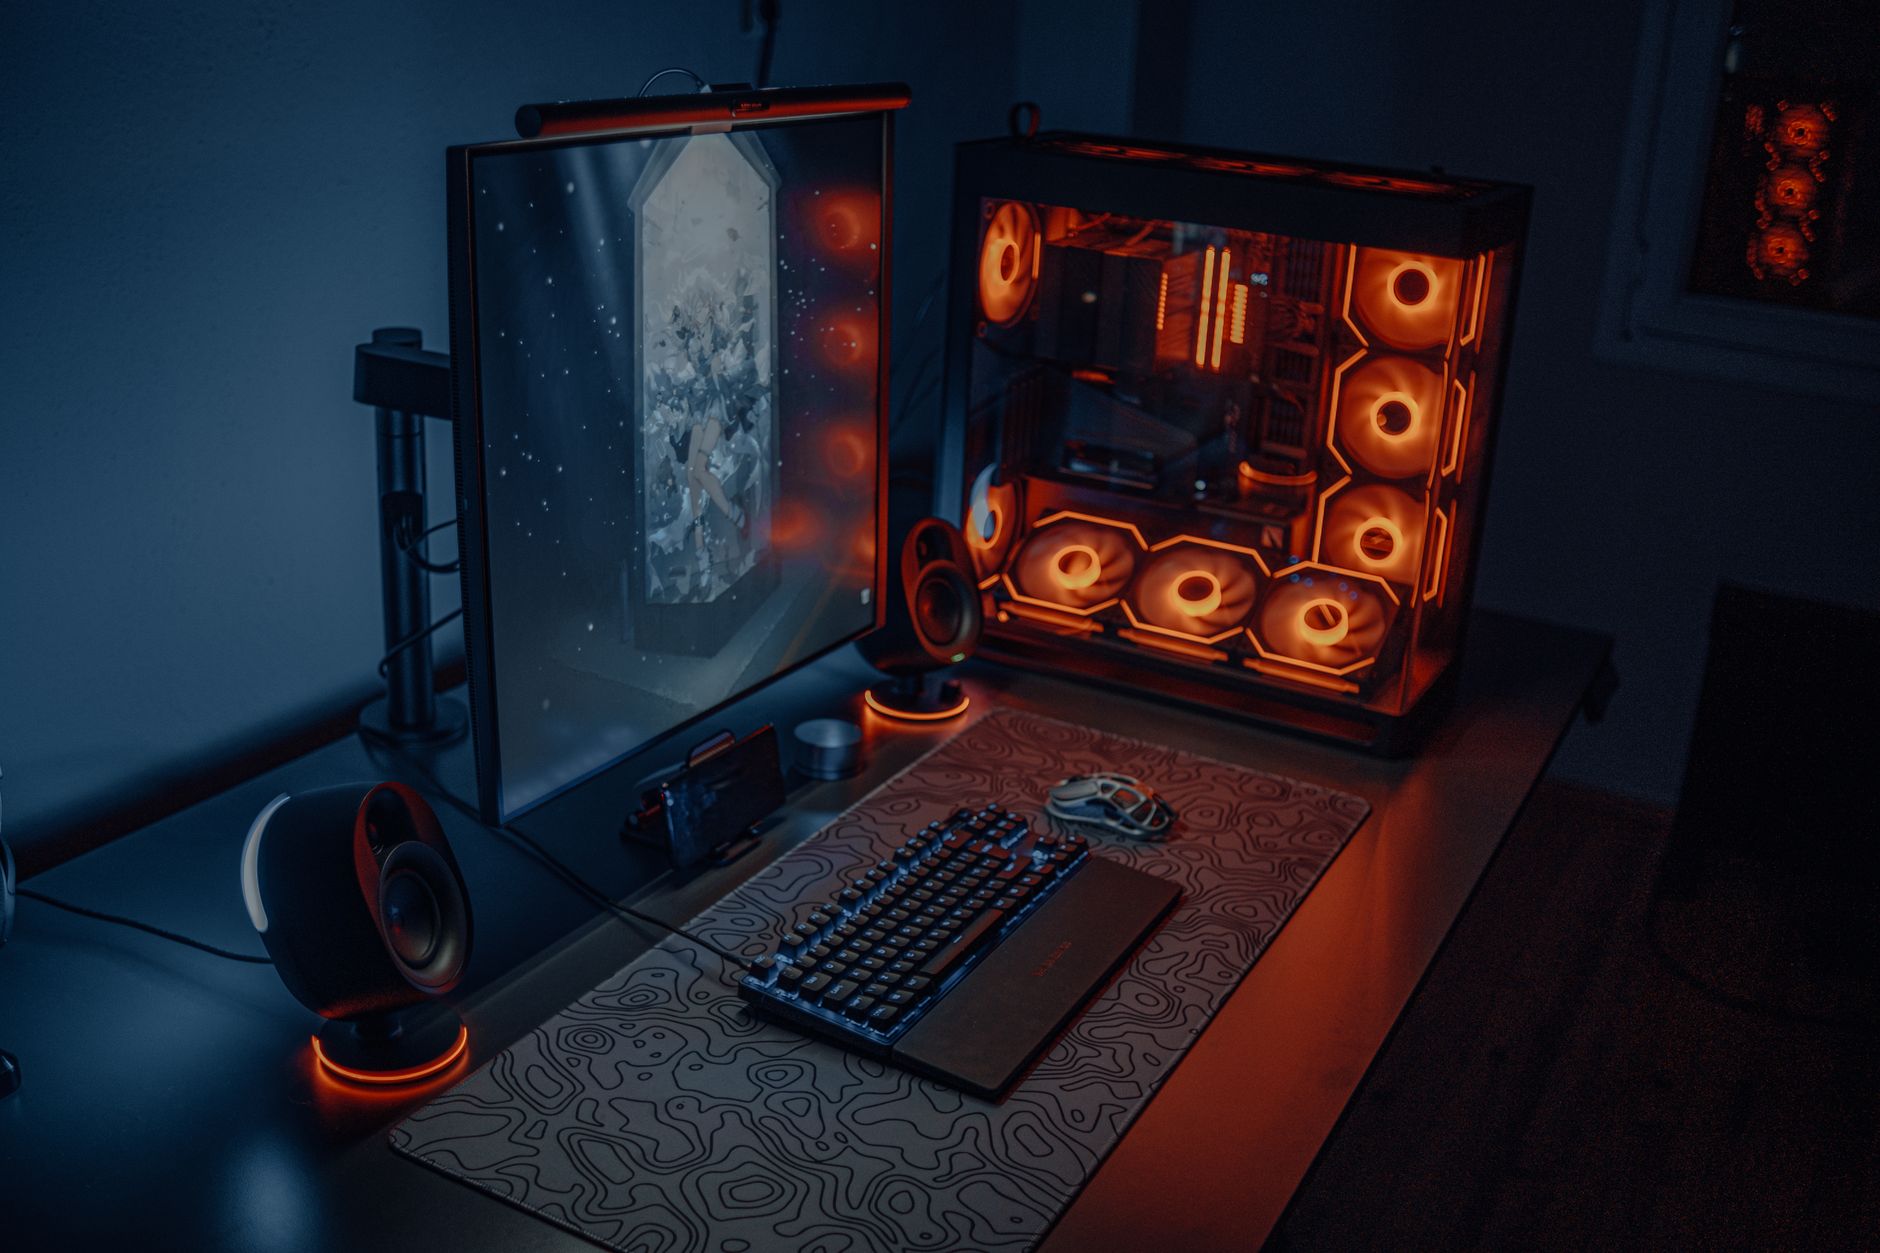
Why Building Your Own Gaming PC is the Smart Choice

Inside view of a high-performance gaming PC showcasing components and vibrant RGB lighting.
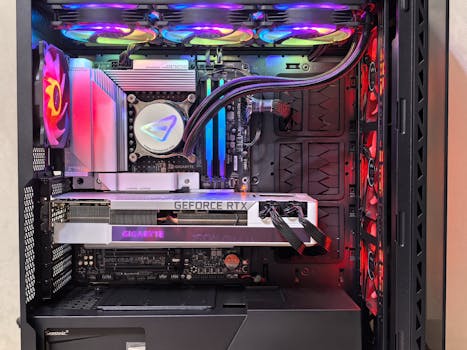
Photo: Andrey Matveev / Pexels
Embarking on the journey of building your own gaming PC might seem daunting at first glance, but it's a deeply rewarding endeavor that offers significant advantages over purchasing a pre-built system. The primary draw for many is the unparalleled level of customization. When you build your PC, you're not limited by the often-generic configurations offered by manufacturers. You get to handpick every single component, ensuring that each part precisely meets your performance requirements, aesthetic preferences, and budgetary constraints. This means you can allocate more funds to the components that truly matter for your gaming experience, such as a powerful graphics card or a high-refresh-rate monitor, and potentially save on less critical parts. This granular control translates directly into a system optimized for *your* specific games and applications, rather than a one-size-fits-all solution. Beyond customization, cost-effectiveness is a major motivator. While it's not always universally true that DIY is cheaper, especially for entry-level builds where manufacturers benefit from bulk discounts, for mid-range to high-end systems, building your own can often result in significant savings. You avoid the 'builder's premium' that pre-built companies charge for assembly, warranty, and brand overhead. These savings can then be reinvested into better components, pushing your PC's performance ceiling higher for the same budget. Furthermore, understanding the individual cost of each component empowers you to make informed decisions, allowing you to upgrade parts incrementally down the line without needing to replace the entire system. This modularity is a core benefit of the PC platform and is fully leveraged when you build it yourself. Another substantial benefit is the educational value and satisfaction derived from the process itself. Assembling your PC teaches you invaluable lessons about hardware compatibility, component functions, and basic troubleshooting. This knowledge is incredibly empowering, making you self-sufficient for future upgrades, maintenance, and even diagnosing minor issues. There's a unique sense of accomplishment that comes from powering on a machine you've meticulously put together with your own hands, knowing every screw, cable, and component intimately. It transforms your computer from a black box into a machine you understand and control. For those who enjoy tinkering and learning, this aspect alone can be reason enough to choose the DIY route. The community support around PC building is also immense, with countless forums, videos, and guides available to assist you at every step, making it less intimidating than it might appear. You're never truly alone in your build journey. Exploring PC building resources can significantly enhance your experience and confidence. Finally, the longevity and upgradeability of a custom-built PC far surpass most pre-built options. Manufacturers of pre-built systems often use proprietary parts or custom form factors that make future upgrades difficult or impossible. When you build your own, you're typically working with industry-standard components, ensuring a wider range of compatibility for future upgrades. Want a faster graphics card in two years? No problem, just swap it out. Need more storage? Add another drive. This flexibility means your investment lasts longer, as you can incrementally upgrade key components to keep pace with technological advancements and demanding new games, rather than having to buy an entirely new system every few years. This makes building your own PC not just a short-term project, but a long-term investment in your gaming future.

Essential Components: What You Need to Know

High-tech gaming setup featuring a curved monitor, RGB keyboard, and vibrant lighting.
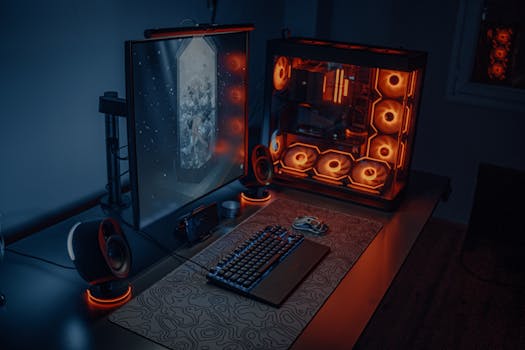
Photo: Ron Lach / Pexels
Understanding the core components of a gaming PC is crucial before you start buying parts. Each piece plays a vital role in the overall performance and functionality of your system. The **Central Processing Unit (CPU)**, often called the 'brain' of the computer, executes instructions and performs calculations. For gaming, you'll want a CPU with a good balance of core count and single-core performance. AMD's Ryzen series and Intel's Core i-series are the two main contenders. While more cores are beneficial for multitasking and some modern games, high clock speeds are generally more important for raw gaming frame rates. Your choice of CPU will also dictate the compatible motherboard socket. The **Graphics Processing Unit (GPU)**, or graphics card, is arguably the single most important component for gaming performance. This is where most of your gaming budget should go. The GPU renders the images you see on your screen, and a powerful one is essential for high frame rates, resolution, and graphical fidelity. NVIDIA's GeForce RTX/GTX series and AMD's Radeon RX series are the dominant players. Research benchmarks for the specific games you play at your desired resolution and refresh rate to make an informed decision. Don't skimp here if gaming is your priority. The **Motherboard** acts as the central nervous system, connecting all the components. It needs to be compatible with your chosen CPU (socket type), RAM (DDR4 or DDR5), and have enough slots and ports for your other components and peripherals. Look for features like M.2 slots for fast storage, USB 3.2 ports, and appropriate PCIe slots for your GPU. Chipset choice also matters, as it affects features like overclocking support and connectivity. Don't overspend on a high-end motherboard if you're on a tight budget, but ensure it has all the necessary features for your chosen components. **Random Access Memory (RAM)** is your system's short-term memory, used to store data that the CPU needs to access quickly. For modern gaming, 16GB of DDR4 or DDR5 RAM is the sweet spot, with 32GB becoming increasingly common for high-end systems and future-proofing. Look for RAM with decent clock speeds (e.g., 3200MHz for DDR4, 6000MHz for DDR5) and low CAS latency for optimal performance. Remember to install RAM in dual-channel configuration for better bandwidth. **Storage** comes in two main forms: Hard Disk Drives (HDDs) and Solid State Drives (SSDs). HDDs offer large capacity for cheap, while SSDs are significantly faster. For a gaming PC, an NVMe M.2 SSD (e.g., 500GB-1TB) is essential for your operating system and frequently played games, drastically reducing load times. You can supplement this with a larger SATA SSD or HDD for less demanding games and mass storage. The **Power Supply Unit (PSU)** is responsible for providing power to all your components. Do not underestimate its importance; a cheap or underpowered PSU can lead to system instability or even damage components. Calculate your estimated wattage needs using online calculators (add a buffer of 100-150W) and choose a reputable brand with an 80 PLUS Bronze, Gold, or Platinum efficiency rating. Higher efficiency means less wasted heat and lower electricity bills. Finally, the **PC Case** houses all your components. Beyond aesthetics, consider factors like airflow, cable management options, support for your motherboard size (ATX, Micro-ATX, Mini-ITX), and clearance for your GPU and CPU cooler. A well-ventilated case is crucial for keeping temperatures down and ensuring component longevity.

Step-by-Step Assembly: Bringing Your Vision to Life

With all your components in hand, it's time for the exciting part: assembly. Before you begin, ensure you have a clean, well-lit workspace, preferably on a non-conductive surface. Unpack your tools, including screwdrivers (Phillips #2 is most common), zip ties or Velcro straps for cable management, and potentially thermal paste if your CPU cooler doesn't come pre-applied. It's also wise to have an anti-static wrist strap, though touching a grounded metal object (like your PC case before installing components) regularly can also mitigate static discharge risks. Take your time, consult your component manuals, and don't force anything. Patience is key to a successful build. Learning about safe handling of PC components is vital to prevent damage. Start with the **Motherboard Prep**. Carefully unbox your motherboard and place it on its anti-static bag or the foam pad from its box. Begin by installing your **CPU**. Open the CPU retention arm on the socket, align the triangular arrow on your CPU with the corresponding mark on the socket, and gently drop the CPU into place. Do not apply force. Once seated, close the retention arm. Next, install the **CPU Cooler**. If it's an air cooler, apply thermal paste (a pea-sized dot in the center of the CPU is usually sufficient) and then mount the cooler according to its instructions. For AIO liquid coolers, mount the CPU block and then prepare to install the radiator into the case later. Install your **RAM modules** into the correct slots as indicated by your motherboard manual (usually slots 2 and 4 for dual channel). Push down firmly until the clips on both ends snap into place. Now, install your **M.2 NVMe SSD**. Locate the M.2 slot(s) on your motherboard, remove the tiny screw or standoff, insert the M.2 drive at an angle, and then push it down and secure it with the screw/standoff. Some motherboards have heatsinks for M.2 drives; install those over the drive. With these core components on the motherboard, it's a good idea to perform an **Out-of-Case Test**. Connect your PSU to the motherboard (24-pin and 8-pin CPU power), GPU (if you have one, though integrated graphics will suffice for a basic POST test), and a monitor. Briefly short the power pins on the motherboard with a screwdriver to see if it powers on, displays a signal, and doesn't show any immediate errors. This helps troubleshoot components before they're fully encased. Once the out-of-case test is successful, it's time to **Install Components into the Case**. First, install the I/O shield (if not pre-attached to your motherboard). Then, carefully mount your motherboard into the case, aligning it with the standoffs and securing it with screws. Next, install your **Graphics Card**. Open the PCIe slot latch, align the GPU, and push it firmly into the slot until it clicks. Secure it with the screw(s) on the back of the case. Install any additional **Storage Drives** (SATA SSDs/HDDs) into their respective bays. Finally, install the **Power Supply Unit (PSU)** into its designated bay, usually at the bottom or top rear of the case. Route the necessary power cables through the case's cutouts to reach the motherboard, GPU, and storage drives. Connect the 24-pin ATX power, 8-pin CPU power, PCIe power to the GPU, and SATA power to any SATA drives. **Cable Management** is crucial for good airflow and aesthetics. Use zip ties or Velcro straps to bundle and route cables behind the motherboard tray, keeping the main compartment clear. Double-check all connections, ensure fans are properly oriented, and then close up your case. You're now ready to install your operating system!

Optimization and Troubleshooting: Fine-Tuning Your Gaming Rig

Building your gaming PC is a significant achievement, but the journey doesn't end when the last screw is tightened. The next crucial steps involve installing the operating system, drivers, and then optimizing your system for peak performance and stability. First, you'll need to install Windows (or your preferred OS) from a USB drive. Boot into the BIOS/UEFI, ensure your boot order prioritizes the USB, and follow the on-screen prompts. Once the OS is installed, the most critical step is installing the latest **Drivers**. Start with your motherboard chipset drivers, then your graphics card drivers (download directly from NVIDIA or AMD's websites), and finally any other peripheral drivers. Outdated or missing drivers are a common cause of performance issues and instability. Regularly check for driver updates, especially for your GPU, as new game releases often come with optimized drivers. **BIOS/UEFI Configuration** is another area where you can fine-tune your system. Ensure XMP (Intel) or DOCP (AMD) is enabled for your RAM to run at its advertised speeds, as it often defaults to a lower speed. You can also monitor temperatures, fan speeds, and potentially explore **Overclocking** your CPU or GPU. Overclocking can yield significant performance gains, but it requires careful research, monitoring, and understanding of potential risks. Start with small increments and always keep an eye on temperatures. Tools like MSI Afterburner (for GPU) and Ryzen Master (for AMD CPU) or Intel XTU (for Intel CPU) are popular for this. **Thermal Management** is paramount for a high-performance gaming PC. Monitor your CPU and GPU temperatures using software like HWMonitor or NZXT CAM during gaming sessions. High temperatures can lead to thermal throttling, where components reduce their speed to prevent damage, thus decreasing performance. Ensure your case has good airflow, with an appropriate balance of intake and exhaust fans. Clean dust filters regularly to maintain optimal airflow. Re-applying thermal paste on your CPU or GPU every few years can also help maintain cooling efficiency. Investing in a good CPU cooler and potentially extra case fans is a wise decision for any gaming build. **Software Optimization** also plays a big role. Keep your operating system updated, disable unnecessary background applications, and consider using game mode features in Windows. Regularly defragment your HDDs (not SSDs!) and clean up temporary files. For SSDs, ensure TRIM is enabled. Use a reliable antivirus program and keep it updated. Finally, **Troubleshooting** is an inevitable part of PC ownership. If you encounter issues, start by checking all cable connections. Consult error messages, search online forums (like Reddit's r/buildapc or Tom's Hardware), and try isolating the problem by testing components individually if possible. Don't be afraid to ask for help from the vast online PC building community. With these optimization and troubleshooting practices, your custom-built gaming PC will provide years of high-performance gaming enjoyment.

Common Mistakes and Expert Tips for First-Time Builders

Building your first gaming PC is an exciting journey, but it's also ripe for common pitfalls that can lead to frustration or even damaged components. Being aware of these mistakes and knowing how to avoid them is crucial for a smooth build. One of the most frequent errors is **ignoring compatibility**. Not all CPUs work with all motherboards, and not all RAM types fit all motherboards. Using online PC part picker tools (like PCPartPicker.com) is invaluable for ensuring all your chosen components are compatible before you buy them. Double-check socket types (e.g., AM4, LGA1700), RAM generation (DDR4 vs. DDR5), and physical clearances (e.g., CPU cooler height vs. case width, GPU length vs. case drive cages). Another common mistake is **poor cable management**. While it might seem purely aesthetic, messy cables can impede airflow, leading to higher temperatures and reduced component longevity. Take the time to route cables neatly behind the motherboard tray, using zip ties or Velcro straps. Many modern cases offer excellent cable management features, so utilize them. Similarly, **improper thermal paste application** or forgetting to remove the plastic film from the CPU cooler's base can lead to dangerously high CPU temperatures. Always apply a pea-sized dot of thermal paste and ensure the cooler makes firm, even contact with the CPU's integrated heat spreader. **Forgetting to enable XMP/DOCP for RAM** is a very common oversight. Out of the box, most RAM modules will run at a slower, default speed. You must go into your motherboard's BIOS/UEFI settings and enable the Extreme Memory Profile (XMP for Intel) or D.O.C.P. (for AMD) to get your RAM running at its advertised, faster speeds. This can significantly impact gaming performance. Lastly, **not testing components out-of-case** can turn troubleshooting into a nightmare. If your PC doesn't POST (Power On Self Test) after full assembly, it's incredibly hard to diagnose the issue when everything is crammed into the case. Performing a quick test with the CPU, cooler, RAM, and GPU (if applicable) on the motherboard outside the case can save hours of frustration. Here are some expert tips to ensure a successful build:
  • **Read the Manuals:** This cannot be stressed enough. Every component, especially your motherboard, comes with a detailed manual. It contains crucial information about installation, header locations, and troubleshooting codes.
  • **Watch Build Videos:** Complement your manual reading with visual guides. Watching experienced builders assemble PCs can demystify the process and show you best practices.
  • **Ground Yourself:** Static electricity can damage sensitive components. Use an anti-static wrist strap or regularly touch a grounded metal object (like your PC case) to discharge any static buildup.
  • **Don't Force It:** If a component isn't going in easily, stop. Re-read the instructions, check alignment, and ensure you're using the correct orientation. Forcing components can bend pins or break connectors.
  • **Test Before Finalizing:** As mentioned, an out-of-case test is invaluable. Also, once the OS is installed, run stress tests (e.g., Prime95 for CPU, FurMark for GPU) to ensure stability under load.
  • **Start with the Power Supply:** It's often easier to install the PSU and route its main cables before mounting the motherboard, especially in smaller cases.
  • **Organize Your Screws:** Keep track of the various screws that come with your case and components. They are often different sizes and types, and using the wrong one can cause damage.
  • **Don't Panic:** If something goes wrong, take a deep breath. Most issues are fixable. Utilize online resources and communities for troubleshooting help.

Comparison

FeatureDIY Gaming PCPre-Built Gaming PCGaming Laptop
CustomizationFull control over every partLimited options, fixed configurationsVery limited, mostly storage/RAM
Cost-EffectivenessOften better value for mid-high endHigher premium for assembly/warrantyHighest cost for equivalent performance
UpgradeabilityExcellent, modular componentsOften difficult, proprietary partsUsually none beyond RAM/storage
PerformanceOptimized for specific needsGood, but may have bottlenecksGood, but thermal limits can hinder
TroubleshootingRequires user knowledge, community helpManufacturer support, limited user accessManufacturer support, sealed unit
PortabilityStatic desktop setupStatic desktop setupHighly portable

What Our Readers Say

5 ★★★★★

"Following this guide, I finally built my own gaming PC! The instructions were incredibly clear, especially the compatibility checks. My new rig runs Cyberpunk 2077 flawlessly at 1440p, something my old pre-built could only dream of."

5 ★★★★★

"I was so nervous to tackle this, but the step-by-step assembly section broke it down perfectly. It felt like I had an expert guiding me through each connection. The satisfaction of powering it on for the first time was immense!"

5 ★★★★★

"My custom-built PC, thanks to this resource, ended up costing me about $400 less than a comparable pre-built, and I got exactly the components I wanted. Load times are non-existent, and every game feels incredibly smooth."

4 ★★★★☆

"The guide was mostly excellent, though I wish there was a bit more detail on specific BIOS settings for different motherboard brands. Still, it got me 95% of the way there, and my PC is running great after some online research for the last few tweaks."

5 ★★★★★

"As a graphic designer who also games, this guide helped me build a dual-purpose workstation. The emphasis on component choice allowed me to prioritize both CPU for rendering and GPU for gaming. It's a beast for both tasks!"

Frequently Asked Questions

Is it really cheaper to build your own gaming PC?
For mid-range to high-end gaming PCs, building your own can often be more cost-effective than buying a pre-built system. You save on labor and brand markups, allowing you to allocate more of your budget directly to higher-performance components. For very entry-level systems, pre-builts can sometimes be competitive due to bulk component purchasing by manufacturers, but they often come with compromises.
I'm worried about breaking something. How fragile are PC components?
While PC components are sensitive to static electricity and physical force, they are not as fragile as you might think. With proper handling (grounding yourself, avoiding excessive force, reading manuals), the risk of damage is low. Take your time, be gentle, and don't force anything that doesn't fit easily. Modern components are designed to be user-friendly for assembly.
What's the first step I should take when planning my build?
The absolute first step is to define your budget and your primary use case. How much are you willing to spend, and what games/resolutions do you want to play? This will guide your component selection and ensure you don't overspend or underspend on critical parts. Use online PC part picker tools to help with compatibility and pricing.
How much RAM do I really need for gaming?
For most modern gaming, 16GB of DDR4 or DDR5 RAM is the sweet spot and provides excellent performance. While 32GB is becoming more common for high-end systems, heavy multitasking, or future-proofing, 16GB is perfectly adequate for the vast majority of games. Focus on getting faster RAM (higher MHz and lower CAS latency) rather than just more capacity beyond 16GB.
Should I buy an Intel or AMD CPU for gaming?
Both Intel and AMD offer excellent CPUs for gaming, and the 'best' choice often depends on your specific budget, the games you play, and the current market. Historically, Intel often had a slight edge in raw single-core gaming performance, while AMD excelled in multi-core tasks and value. Today, both are highly competitive. Research current benchmarks for the specific games you play to see which brand offers the best performance-to-price ratio for your needs.
Who should consider building their own gaming PC?
Anyone looking for maximum performance for their budget, a completely customized system, the ability to easily upgrade in the future, or a rewarding DIY project should consider building their own gaming PC. It's ideal for enthusiasts, budget-conscious gamers, and those who want to understand their hardware better. If you prefer convenience and don't mind paying a premium, a pre-built might be a better fit.
What's the biggest safety concern when building a PC?
The primary safety concern is static electricity, which can damage sensitive electronic components. Always ground yourself by wearing an anti-static wrist strap or by frequently touching a grounded metal object before handling parts. Another concern is ensuring your power supply unit (PSU) is correctly rated and from a reputable brand to avoid power issues or component damage.
What are the future trends in PC building I should be aware of?
Future trends include the increasing adoption of DDR5 RAM, PCIe 5.0 for even faster storage and GPU bandwidth, more efficient and powerful GPUs, and continued advancements in CPU core counts and architecture. AI accelerators are also becoming more common in consumer hardware. Liquid cooling solutions, both AIO and custom loops, are also seeing increased popularity for enthusiasts.

Ready to leave pre-built limitations behind and craft a gaming machine truly your own? This comprehensive guide provides all the knowledge you need on how to build a gaming PC, empowering you to create the ultimate custom rig. Start your journey today and experience gaming like never before.

Topics: how to build a gaming PCDIY gaming computerPC building guidecustom PC assemblygaming PC components
Leo List
Brampton weed
Adultwork